Your laptop or desktop computer that is running Windows 10 is likely configured to go to sleep after a certain period of inactivity. This is a good way to conserve power and battery life.
But you may find that the computer is going to sleep too quickly, or that you would prefer that it not go to sleep at all. Our guide below will show you where to change the sleep settings in Windows 10 to whichever period of time is preferable to you.
How to Change When Windows 10 Goes to Sleep
The steps in this article were performed on a laptop computer using the Windows 10 operating system.
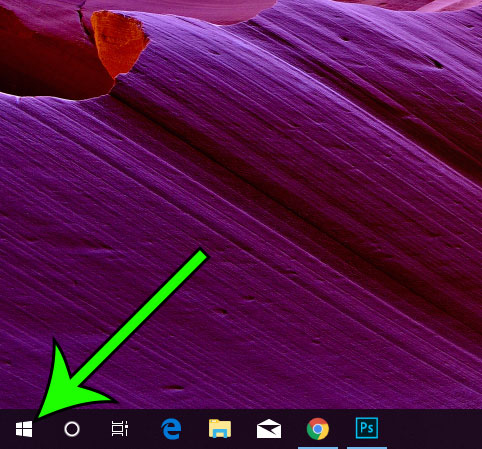
Step 1: Click the Start button at the bottom-left corner of the screen.
Step 2: Click the gear icon at the bottom-left of the Start menu.

Step 3: Select the System option.

Step 4: Choose the Power & sleep tab at the left side of the window.

Step 5: Click the dropdown menus under the Sleep options to select the amount of time that the computer should wait before going to sleep in each situation.

Were you using someone else’s computer and noticed that their Microsoft Edge browser had darker tones? Find out how to switch to the dark theme in Microsoft Edge by adjusting a setting on the program’s menu.
Matt has been writing about Microsoft Windows and other Microsoft products since the days of Windows XP. He spends much of his time writing for sites like WindowBrain.com